


The engine intake system sensor is key for vehicle performance and fuel efficiency, monitoring air data sent to the ECU. Faulty sensors cause reduced efficiency, performance issues, and damage to components. Diagnose by inspecting for damage, checking error codes, observing performance, and listening for unusual sounds. Replace the sensor near the air filter housing using compatible tools and knowledge of engine intake system components for enhanced engine efficiency. This is a manageable DIY task for car owners with basic tools and understanding.
Looking to replace your faulty engine intake system sensor? You’ve come to the right place. This comprehensive guide breaks down the process step-by-step, ensuring you’re prepared to tackle the repair confidently. Understanding the role of your engine intake system sensor and knowing how to diagnose the issue are key first steps. By the end, you’ll have the knowledge to successfully replace it and breathe new life into your vehicle’s performance.
- Understanding Your Engine Intake System Sensor
- Diagnosing the Faulty Sensor
- Step-by-Step Replacement Process
Understanding Your Engine Intake System Sensor
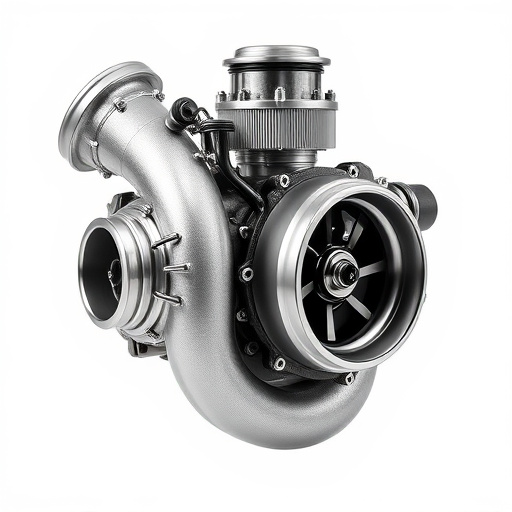
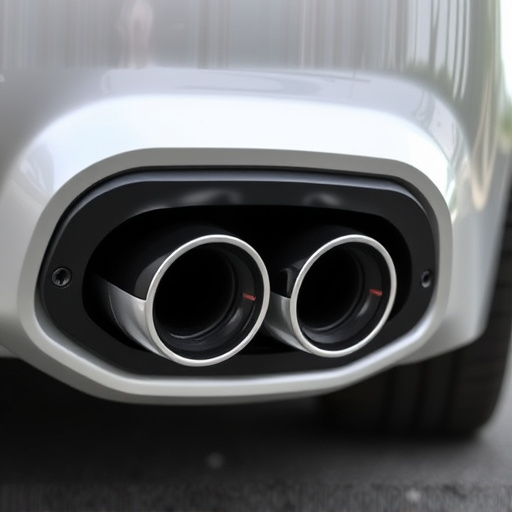
The engine intake system sensor is a vital component that plays a crucial role in your vehicle’s performance and fuel efficiency. This tiny but powerful device monitors various parameters within the intake manifold, such as air temperature, pressure, and flow rate. It then sends this critical data to the engine control unit (ECU), which uses it to optimize combustion and ensure optimal engine output. A faulty intake system sensor can lead to significant issues, including reduced fuel efficiency, decreased engine performance, and even potential damage to other components like the muffler tips or brake pads.
Understanding how your engine intake system sensor functions is essential before attempting a replacement. The sensor, usually located near the air filter housing, measures the air entering the engine and adjusts the mixture of air and fuel accordingly. In some vehicles, it may also be involved in monitoring external conditions that can affect engine performance, such as temperature changes or atmospheric pressure variations. By ensuring this sensor is in good working order, you contribute to maintaining your vehicle’s peak performance and extending the life of other high-mileage components like a performance exhaust system.
Diagnosing the Faulty Sensor
When diagnosing a faulty engine intake system sensor, the first step is to inspect the sensor itself for any visible damage or debris accumulation. Check if there are any cracks, corrosion, or loose connections. These issues could indicate a straightforward repair or replacement. If the sensor appears intact, it’s time to use diagnostic tools to uncover the problem. Most modern vehicles come equipped with on-board diagnostics (OBD) that can pinpoint errors within the engine intake system. Accessing these readings from a compatible scanner will help identify any error codes related to the sensor.
Additionally, observing the vehicle’s performance and listening for unusual sounds, such as rattling or sputtering, can provide clues about the faulty sensor’s location. With the right tools and knowledge of the engine’s workings, you can navigate through complex components like exhaust systems and muffler tips to isolate the problematic sensor. This process ensures that any replacement parts, including high-performance sensors, are installed correctly, enhancing overall engine efficiency.
Step-by-Step Replacement Process
Replacing a faulty engine intake system sensor is a task that many car owners can handle with some basic knowledge and tools. The process involves several straightforward steps to ensure a smooth and efficient repair. Begin by locating the intake system sensor, typically found near the air filter housing or manifold. This component plays a crucial role in monitoring air and fuel mixture entering the engine.
Once identified, the next step is to disconnect the sensor from its electrical connector, usually done by twisting and pulling the plug out. It’s essential to note that some sensors may be secured with clips or bolts, which should be carefully removed using appropriate tools. With the old sensor replaced, install the new one, ensuring it aligns correctly with its housing. Reattach any disconnected components, including electrical connectors, and verify all connections are secure before restarting the engine to ensure a proper function of your exhaust systems and overall vehicle performance.
Replacing a faulty engine intake system sensor is a manageable task for any car owner with basic mechanical knowledge. By understanding your vehicle’s engine intake system, diagnosing the problem accurately, and following a structured replacement process, you can enhance your car’s performance and prevent potential damage caused by a malfunctioning sensor. This DIY approach not only saves costs but also provides valuable insights into your car’s inner workings. Remember, a well-maintained engine intake system is key to optimal vehicle performance.